iTunes usually feels like the first way to move music from a computer to an iPhone. Until it isn’t. There are times you just don’t want to use it and other times it refuses to cooperate, no matter what you try.
That’s where this guide comes in. There are several ways to transfer music from a PC or Mac to an iPhone without iTunes. Some are better for a few songs. Others make more sense for large libraries. And a few work best when you want your files to stay as simple MP3s, ready to play in apps like VLC. This article walks through those options. You can pick what method actually works for your setup—wired or wireless, PC or Mac, old laptop or new one.
How to Transfer Music from PC/Mac to iPhone Without iTunes
Let’s get into the actual methods now.
Each option below works a little differently. Some are better for quick transfers. Others are recommended when you’re dealing with a bigger music collection. You can choose one depending on what fits your needs best.
Way 1. Use AirDrop
Recommended Number of Songs Per Transfer: Around 20–50 songs. Roughly 2–4 GB works best.
Transfer Speed:
Fast for small batches.
Medium once you push larger folders or high-bitrate files.

AirDrop is built into both Mac and iPhone, which makes it a simple way to migrate music from a Mac to an iPhone. It works better for small batches. However, local MP3s or songs sent through AirDrop do not merge with the Apple Music library. They land in the Files app.
For AirDrop to behave properly, make sure both devices have a few basics in place:
1. Bluetooth and Wi-Fi should be active on both Mac and iPhone.
2. Keep the devices close. Within 30 feet (9 meters) works best.
3. Leave both devices unlocked during the transfer.
4. Personal Hotspot should be off, since it often blocks AirDrop.
5. Plus, AirDrop visibility should be set to Contacts Only or Everyone (for 10 minutes). Here’s how to do it:
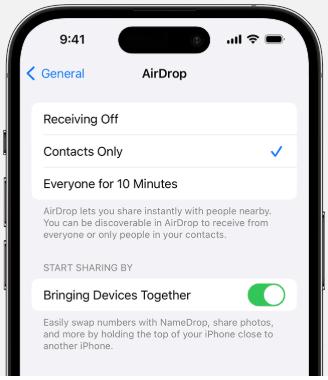
👉On iPhone
- Head into Settings and access General.
- Select AirDrop and choose Contacts Only or Everyone (for 10 minutes).
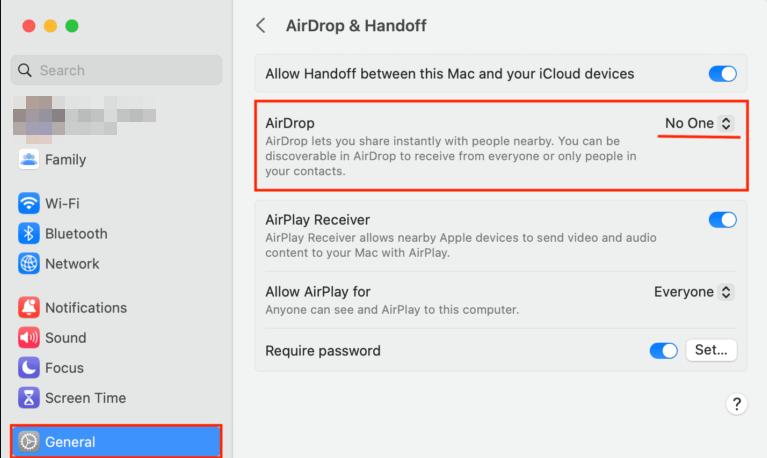
👉On Mac
- Open System Settings and select General.
- Go to AirDrop & Handoff and set AirDrop visibility as needed.
Steps to Transfer Music via AirDrop
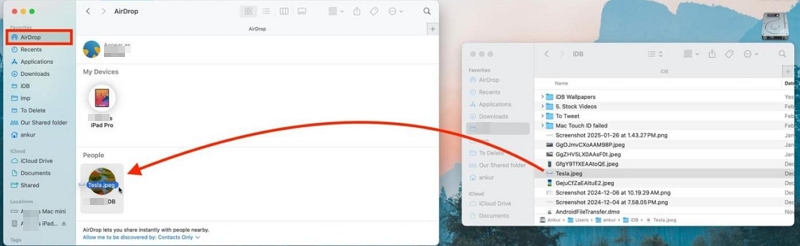
👉Method 1: Drag and Drop from Finder
Step 1. Open Finder on your Mac and select AirDrop from the sidebar.
Step 2. Bring up another Finder window and head to the folder that stores your music. You can keep both windows side by side.
Step 3. Highlight the songs you want to move. Then drag them straight onto your iPhone’s name in the AirDrop window.
Step 4. Watch your iPhone screen — a prompt will appear. Tap Accept and the transfer begins instantly.
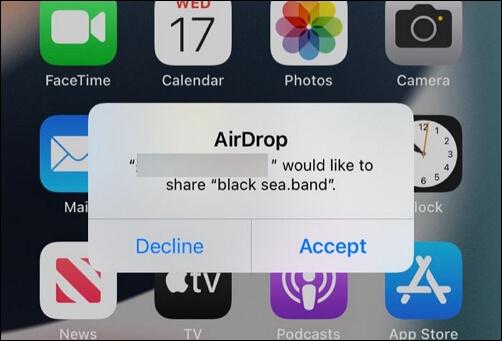
Step 5. Once it finishes, open the Files app > On My iPhone or Downloads. The tracks will be waiting there, neatly grouped and ready to play.
👉Method 2: Use Share Menu
Step 1. Open Finder on your Mac. Highlight the songs you want to send.
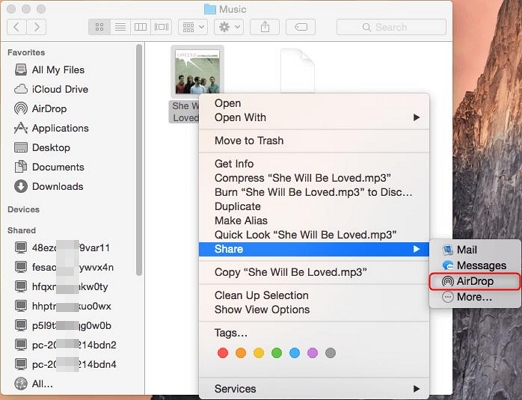
Step 2. Control-click (or right-click) the selected files. A small menu pops up.
Step 3. Choose Share. Then select AirDrop from the options.
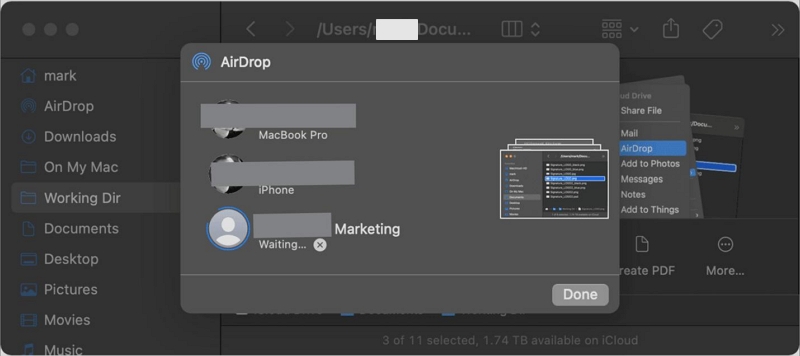
Step 4. Your iPhone will appear in the list. Tap it, then accept the transfer on the phone.
Step 5. When the transfer finishes, you can find the transferred songs on On My iPhone or Downloads of the Files app.
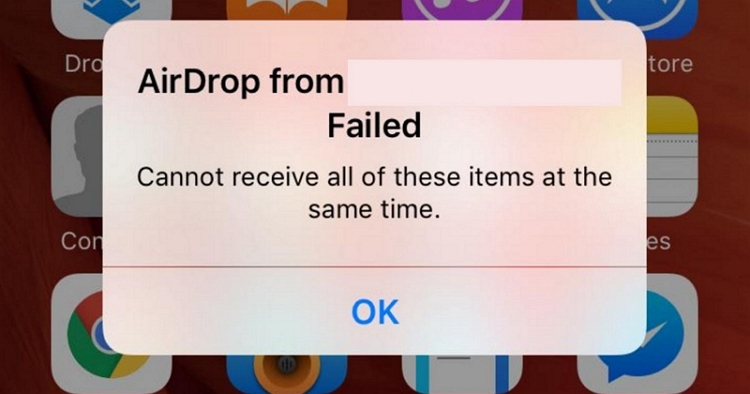
Possible Issues
- Files won’t appear in the Apple Music app by default.
- Large folders will slow down or stall midway.
- Transfers can fail if one device locks or switches networks.
- Personal hotspot on either device can break the connection.
Way 2. Use VLC
Recommended Number of Songs Per Transfer: Good for 50–300 songs, depending on file size.
Transfer Speed:
Medium. Stable for bulk transfers. Slower than AirDrop for small batches.

VLC is more or less similar to the AirDrop wireless method. Still, it relatively works well to migrate a larger set of music files from your computer to iPhone without iTunes. The files will arrive inside VLC but not Apple Music. So choose this method when you don’t want your local music to be mixed with Apple’s library system.
What to Check Before Starting
- Both your computer and iPhone need to be on the same Wi-Fi network.
- Don’t close the VLC app on the iPhone during the process.
Steps to Transfer Songs Using VLC
Step 1. Install VLC for Mobile on your iPhone from the App Store. Open it once, so iOS finishes setting up permissions in the background.
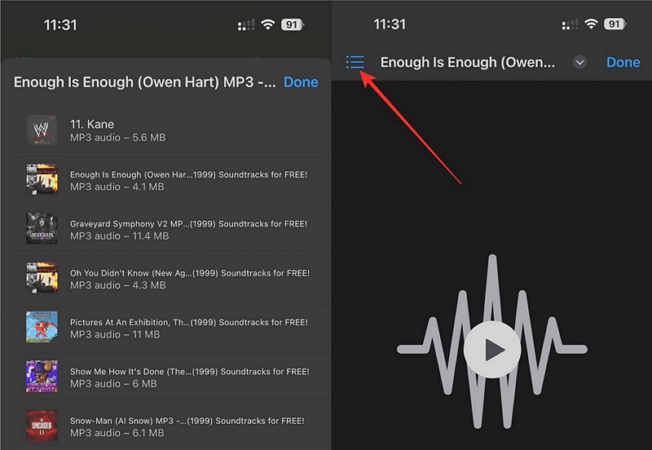
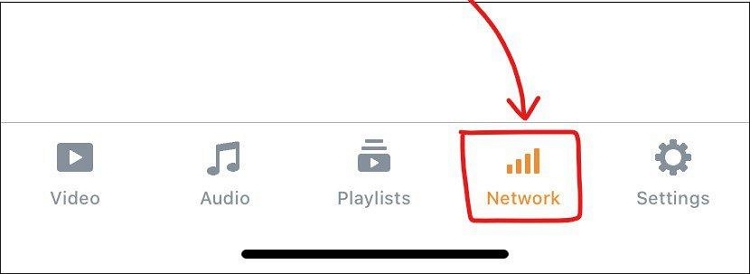
Step 2. Inside VLC, tap the Network tab at the bottom.
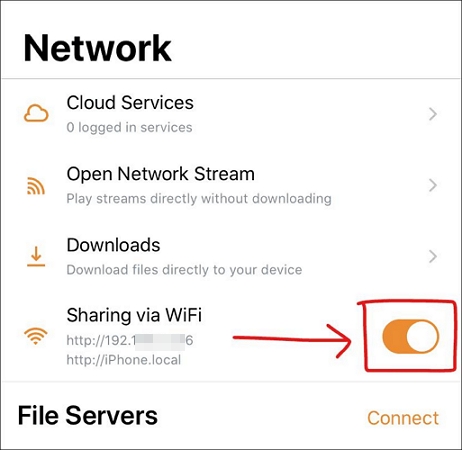
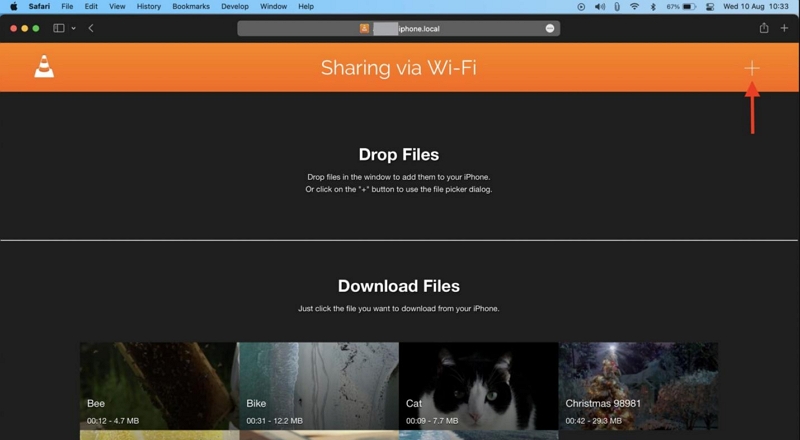
Turn on Sharing via Wi-Fi. You’ll see a local web address appear on the screen.
Step 3. Now move to your computer. Open any web browser and type that VLC address exactly as shown on the iPhone. A simple upload page will load, which is VLC’s transfer window.
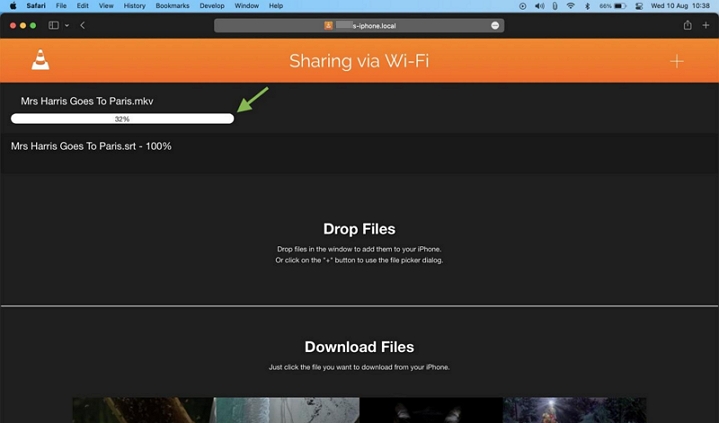
Step 4. Drag your music files directly into the browser window or use the + button at the top-right to select music manually. You can choose single tracks, folders, or entire albums in a single go.
The upload begins immediately and progress appears on both screens.
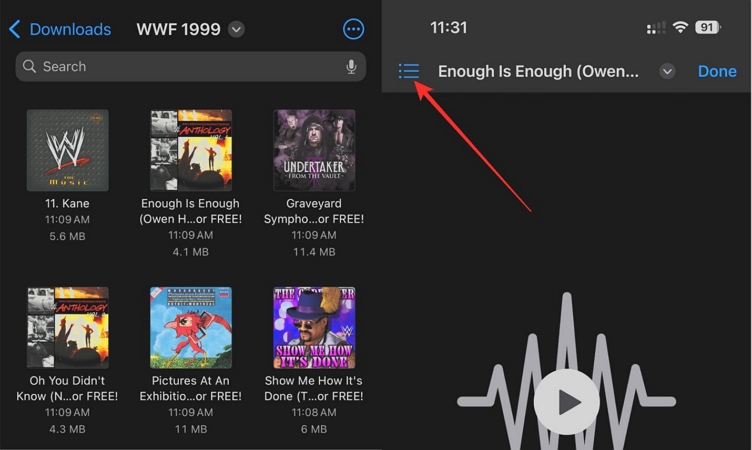
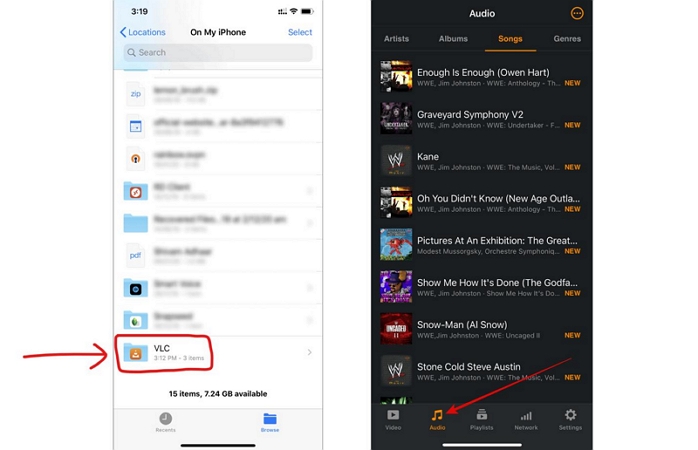
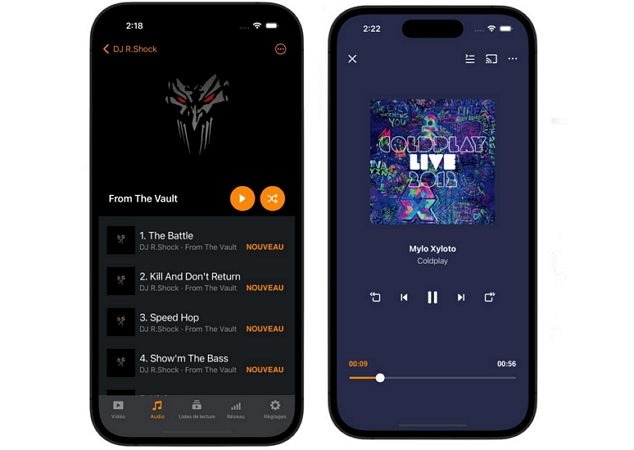
Step 5. Go back to VLC on your iPhone. Switch to the Audio section. You’ll find all the transferred songs listed here.
Way 3. Use Eassiy Phone Transfer
Recommended Number of Songs Per Transfer: Up to 2,000 songs in one session
Transfer Speed: Fast (USB-based transfer or wireless)
![]()
Eassiy Phone Transfer is designed for situations where wireless methods feel limiting. Instead of relying on AirDrop or cloud sync, this method lets you push a large music library directly into your iPhone storage using a cable. That makes it far more stable for bulk transfers and long sessions. The songs don’t merge into Apple Music. They are written to your iPhone’s storage. So you can play them using third-party apps like VLC easily.
Eassiy works on both Windows and macOS and is compatible with iOS 6-26 flawlessly. Plus, it supports wired as well as wireless connections.
Steps to Transfer Music Using Eassiy Phone Transfer
Step 1. Install the software on your Windows PC or Mac. Launch it and allow the device connection service to initialize.
Step 2. Connect your iPhone to the computer using a USB cable. It’s also available to build the wireless pairing via QR scan.
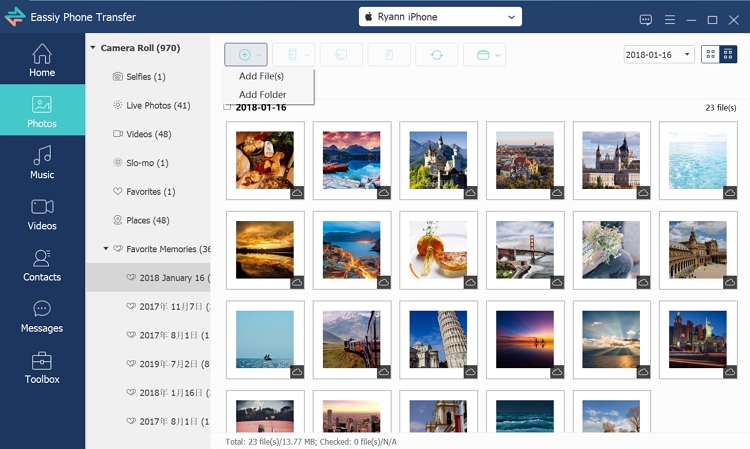
Step 3. Choose the Music option from the left sidebar. Browse your Mac or Windows computer and select the music files.
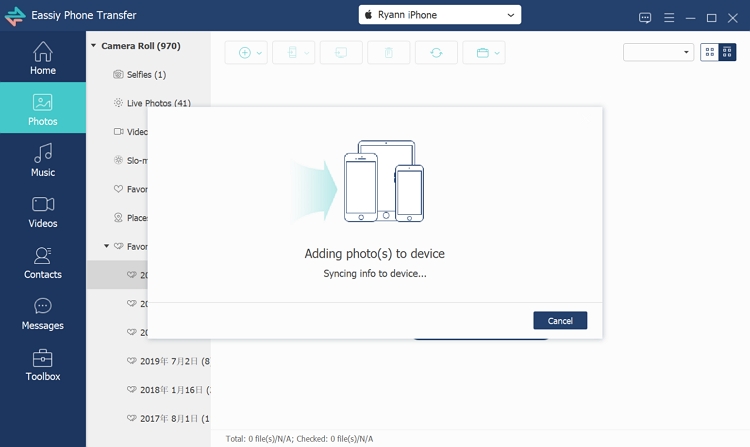
Step 4. Begin the transfer and keep the cable connected until completion. Once finished, the songs will be shown in a dedicated folder on your iPhone. You can open the Files app to play them.
Limitations to Keep in Mind
- Music goes to the Files app but not Apple Music library.
Way 4. Use Cloud Services
Recommended Number of Songs Per Transfer: Limited mainly by cloud storage space and your upload–download patience.
Transfer Speed: Medium (depends heavily on your internet connection).
![]()
Using cloud services is a practical option when you want your music to stay as plain MP3 or audio files, without syncing them into Apple Music or triggering iCloud Music Library rules. The files remain independent, portable, and accessible on demand on any device.
One big advantage here is flexibility. You’re not forced to store everything locally on your iPhone at once. The music can live in the cloud itself and you pull it down only when you actually want to listen. That saves local iOS storage.
You also get to choose between several services:
- Google Drive: 15 GB free. Work smoothly inside the iOS Files app.
- Dropbox: 2 GB free. Reliable and widely support across apps and systems.
- OneDrive: 5 GB free. Integrate well with Windows and iPhone.
- pCloud: Up to 10 GB free. Long-term plans are available. Handle media files well.
- iCloud Drive: 5 GB free. Deeply integrated into iOS and Files.
How to Transfer Music Using iCloud Drive
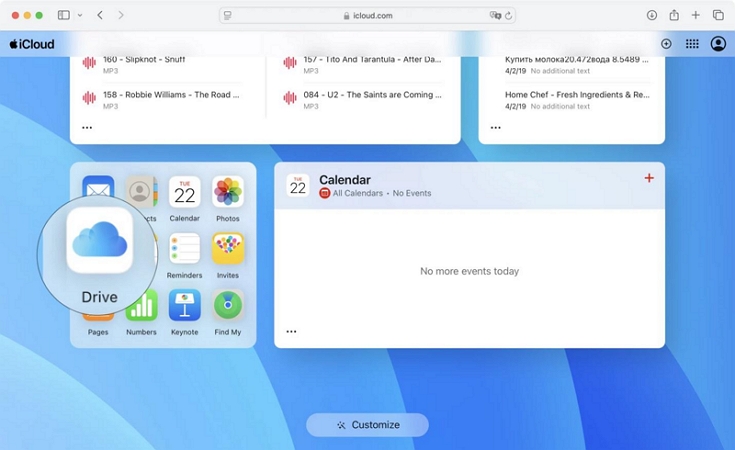
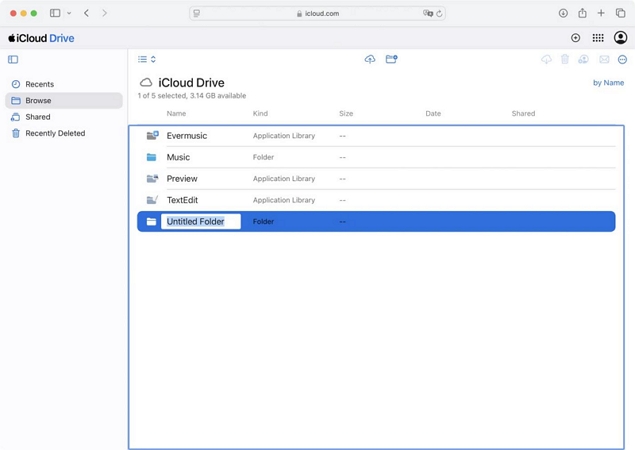
Step 1. Head to iCloud.com on your Mac or PC. Sign in with your Apple ID. Once the page loads, choose iCloud Drive.
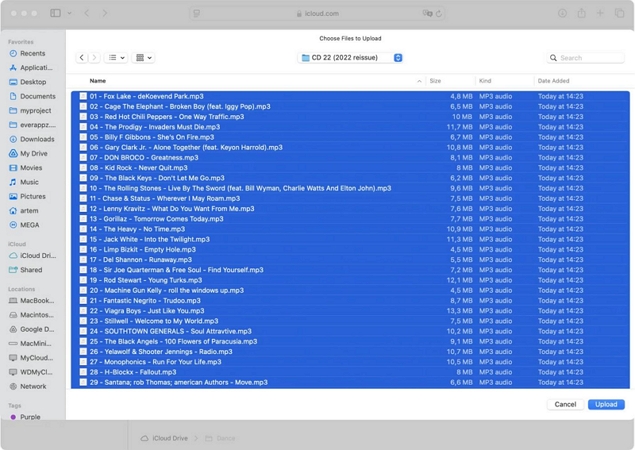
Step 2. Create a new folder and keep it only for music. Then use the Upload option at the top to add your songs.
Step 3. Select the files and let the upload finish. Nothing else is required on the computer.
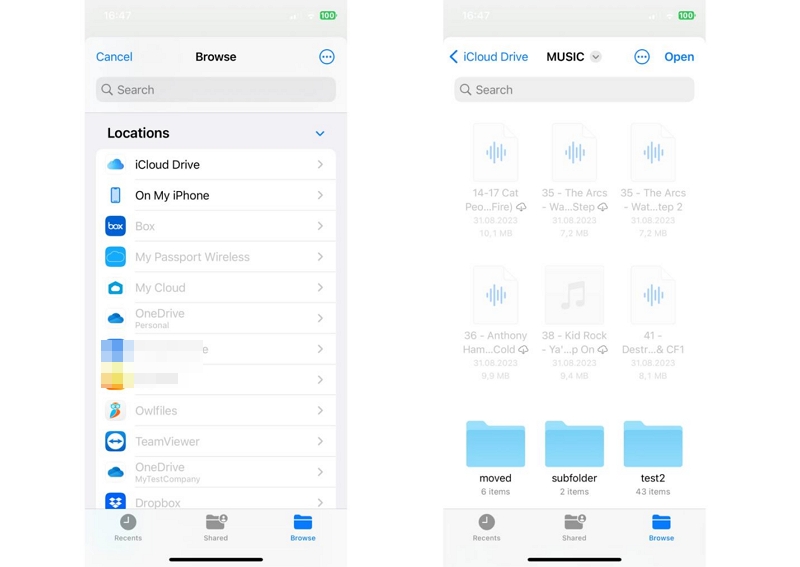
Step 4. Pick up your iPhone and open the Files app. Switch to the Browse section and select iCloud Drive. Open the music folder you just created. You’ll find the uploaded songs.
How to Transfer Music from PC/Mac to iPhone with iTunes
iTunes or Finder still allows you to decide exactly where your music ends up on the iPhone. Local MP3 files can be placed inside a player app like VLC or synced straight into the Music app. The setup works on Windows and older Macs that rely on iTunes. On newer macOS versions, Finder takes over.
Steps to Transfer Local Songs to iPhone with iTunes
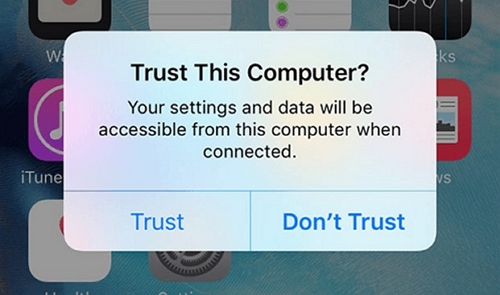
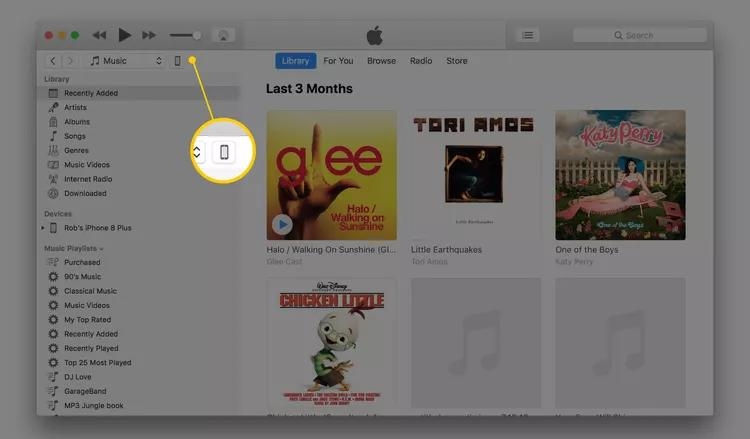
- Connect the iPhone to the computer using a cable. Keep the phone unlocked.
- Look at the top bar in iTunes. The phone icon appears once the device is detected.
- Select the icon to open the device overview.
From here, choose the method below based on where you want the music stored on your iPhone.
Option 1: Transfer Audio Files to an App like VLC
This approach keeps music separate from Apple Music. Files stay inside the app you choose and don’t mix with your main library.
1. In the left sidebar, choose File Sharing. A list of apps that accept files will appear.
2. Choose VLC or any other compatible audio app.
3. Click Add. When the file window opens, select the MP3 files from your computer and confirm.
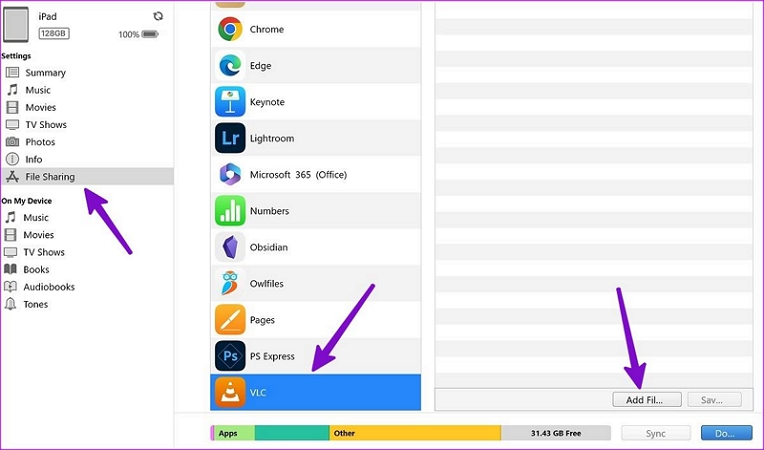
The files will be pasted directly to the app. Now, open VLC on your iPhone and you’ll see them ready to play.
Option 2: Sync Music Directly to the iPhone Music App
Add your local songs to iTunes first:
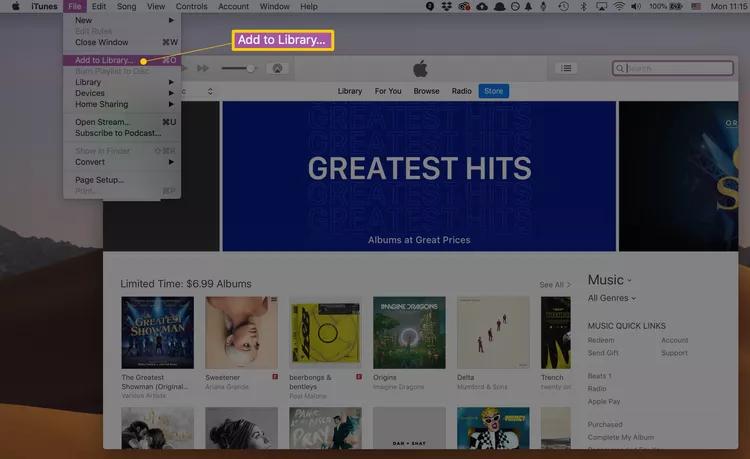
- Simply open iTunes, choose File > Add to Library.
- A file picker opens. Point it to the folder where your MP3s or audio files live, select what you want, and confirm.
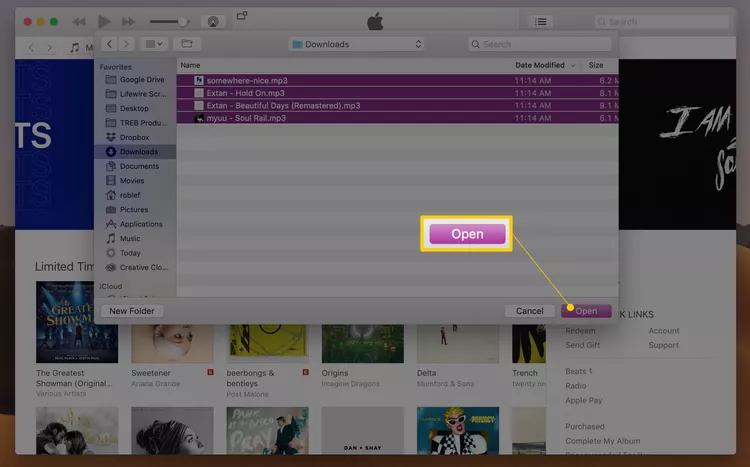
You will see the songs listed inside iTunes now. From this point, the files are ready. They can be synced to the iPhone automatically or moved over manually, depending on the method you use next.
👉Sync Music Automatically
This is the classic iTunes-style sync. It is best when you want songs to appear under the Library in the Music app.
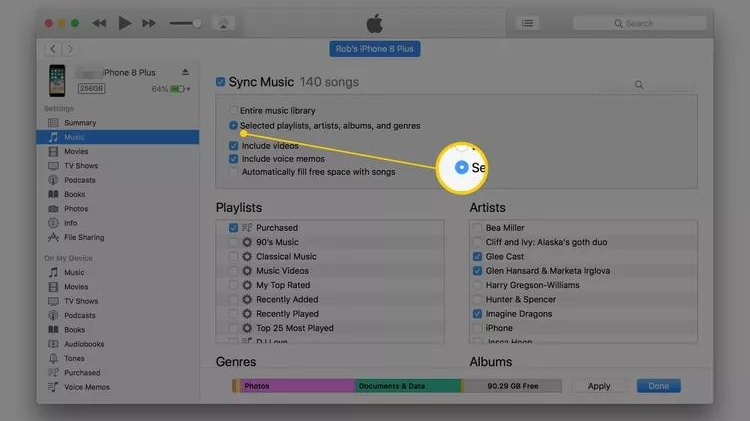
- With the iPhone selected, choose Music from the sidebar.
- Check Sync Music.
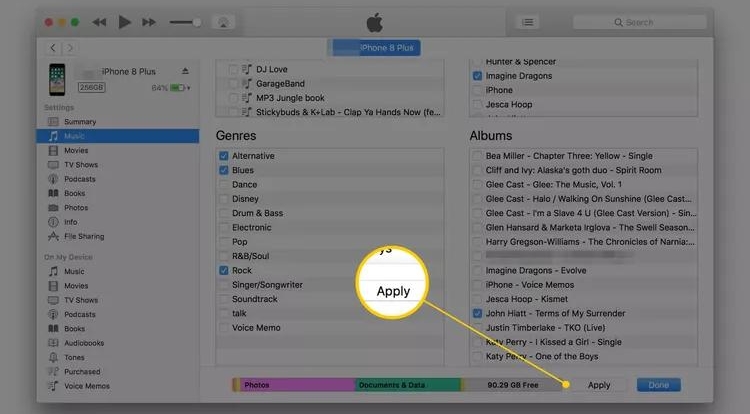
- You can choose to sync the entire library. Or, select artists, albums, or playlists.
- Click Apply.
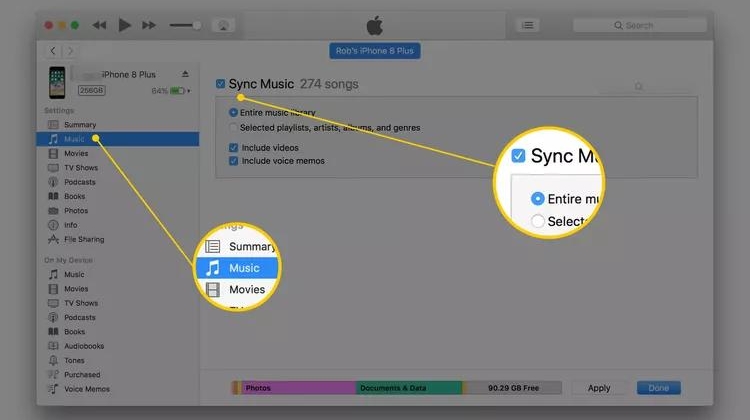
Now, open the Music app on your iPhone. The added songs will appear under Library.
👉Manually Drag and Drop Selected Songs
iTunes also gives you manual control over what music files go onto the iPhone. For this:
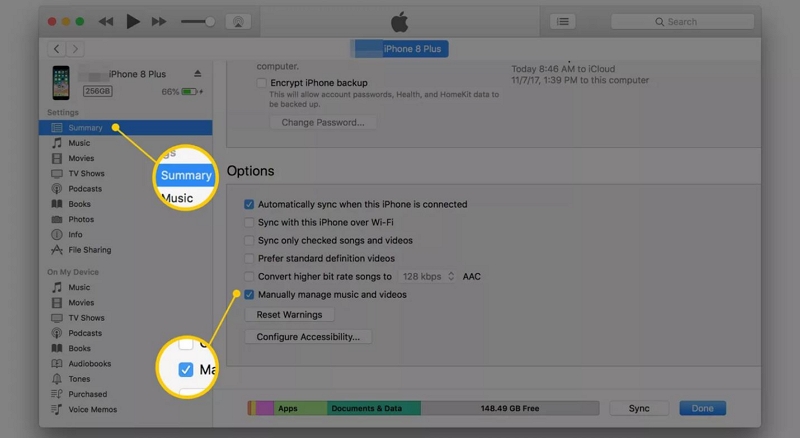
- Open the Summary tab and enable Manually manage music and videos. Click Apply to save it.
- Go back to the Library view using the back arrow.
- Drag the selected music from the main window and drop it onto your iPhone in the left sidebar.
Tip: How to Save Music as MP3 for Transfer from PC to Phone
If you want more MP3s, you can use Mediaio Audio Converter. It allows you to turn your favorite songs into high-quality MP3s on your computer. Once the music is converted, it becomes local. You can move it to your phone, open it in any player or simply keep it stored for later use. The files stay usable, exactly when you need them.
Conclusion
At this point, you’ve seen all the realistic ways to move music from a PC or Mac to an iPhone with wired, wireless or cloud-based method and without relying on iTunes if you don’t want it. There’s no single “best” option here. What works depends on how big your library is and how you actually listen.
And if you want to build a larger collection, converting your music to MP3 first gives you far more flexibility. That’s where tools like Mediaio Audio Converter fit naturally. You can turn songs from major music platforms into local MP3 files and play them without ads or interruptions.