Yes, you can transfer iTunes playlists to Amazon Music, but the method you use depends on whether your songs are DRM-free, purchased downloads, or Apple Music streaming tracks. The three main ways to move your playlists are: manual export and upload, online playlist-transfer tools, and desktop software. In this guide, we’ll walk you through each method step by step so you can get your music on Amazon Music effortlessly.

What You Should Know Before Transferring iTunes to Amazon Music
Wondering can I transfer music from iTunes to Amazon Music? Before you start, there are a few important things to know:
- DRM Limitation: Streaming Apple Music tracks are DRM-protected and cannot be uploaded directly to Amazon Music. Only purchased or DRM-free tracks can be moved.
- Local Compatibility: Amazon Music supports MP3, AAC, ALAC, FLAC, and WAV. iTunes libraries containing these compatible formats can be transferred easily.
- Library Structure & Metadata: When transferring, consider your playlists, track metadata, album artwork, and folder organization. Maintaining this structure ensures your music looks right in Amazon Music.
Method 1. Export & Upload Manually (Best for Small Local Libraries)
The process consists of three main steps that should be followed in the correct order.
Step 1 — Export Your iTunes/Apple Music Playlist
1. Launch Music and select the playlist(s) you want to export.
2. Switch to Songs view to confirm metadata and track order.
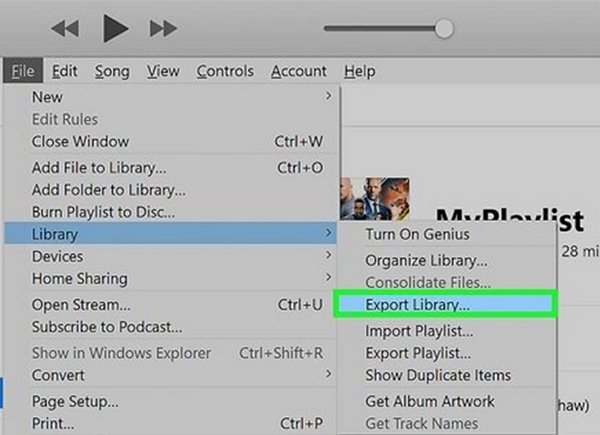
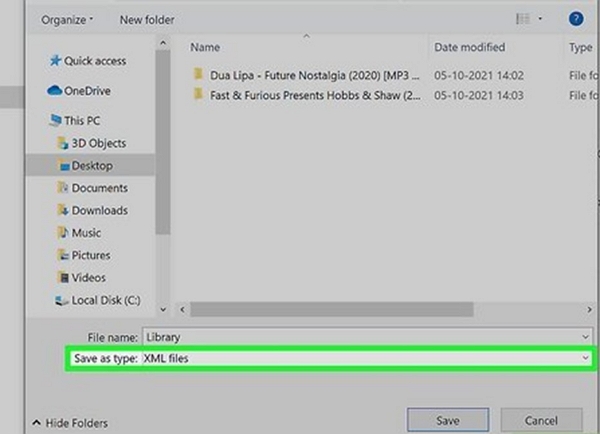
3. Go to File > Library > Export Playlist, choose XML format.
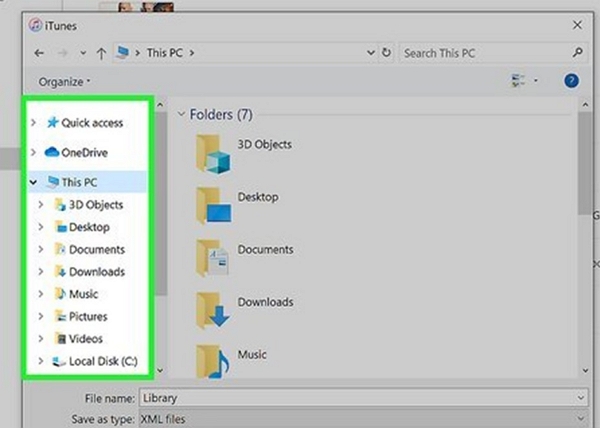
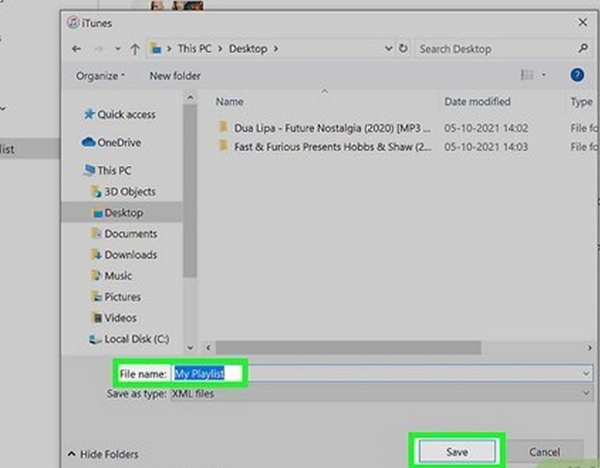
4. Name and save the file to a known folder.
5. Open the XML briefly in a text editor to confirm it references local file paths.
6. Keep the XML and music files in accessible locations for migration.
7. Optionally, you can manually copy the files:
- Go to Music > Settings > Files to locate your Music Media folder.
- In Music: File > Library > Organize Library > Consolidate files.
- Use Finder to copy tracks to a new folder and verify metadata.
Windows (iTunes app)
1. Open iTunes and select the playlist in the left sidebar.
2. Download any tracks with cloud icons to ensure they are local.
3. Go to File > Library > Export Playlist, choose XML format.
4. Save the XML file and verify that file paths point to actual files.
5. Optionally, manually copy files:
- Go to Edit > Preferences > Advanced to find your iTunes Media folder.
- File > Library > Organize Library > Consolidate files.
- Copy desired tracks to a folder (e.g., C:\Exported_MyPlaylist) and check metadata.
Tips:
- Use Amazon Music’s local file import or a playlist-conversion tool to map these files.
- This method works best for small local libraries or DRM-free purchased tracks.
Step 2 — Convert Files to an Amazon-Supported Format (If Needed)
Amazon Music doesn’t accept every file type. Before uploading, make sure your tracks are in a supported audio format.
If your exported music is in an unsupported format (e.g., OGG, OPUS, APE), convert it using any standard audio converter.
Recommended settings:
- MP3 (320 kbps) — best compatibility
- AAC (256 kbps) — great quality + smaller size
- FLAC/WAV — if you want lossless uploads
iTunes purchases older than 2009 may contain DRM and cannot be uploaded. Replace them with iTunes Plus versions if possible.
Step 3 — Upload Music to Amazon Music
Before uploading, make sure your files are under 250MB each and in a supported format (MP3, AAC, FLAC, WAV). Amazon allows up to 50,000 personal tracks.
Option A — Automatically Import from a Folder
Step 1. Put your songs in a dedicated folder on your computer.
Step 2. In Amazon Music, open Settings.
Step 3. Under Automatically Import Music From, click Select Folder.
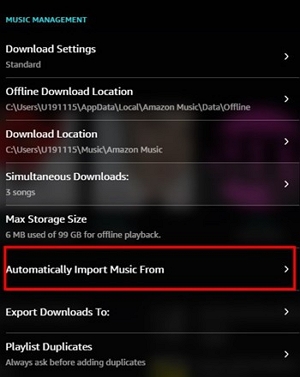
Step 4. Choose your music folder. Amazon Music will continuously scan and upload any compatible files.
Option B — Import from Windows Media Player
Step 1. Add your songs to Windows Media Player (Library → Add to Library).

Step 2. In Amazon Music settings, enable Windows Media Player as an import source.
Step 3. Amazon Music will scan WMP and upload supported tracks.
Option C — Import from iTunes / Apple Music
Step 1. Make sure your songs are already added to iTunes (File → Add to Library).

Step 2. In Amazon Music settings, select iTunes under import sources.
Step 3. Amazon Music will scan your iTunes library and upload compatible music files.
Method 2. Use Online Services (Soundiiz / TuneMyMusic)
If your goal is to convert iTunes playlist to Amazon Music fast, online playlist transfer tools are the easiest solution. They don’t move your audio files — only the playlist metadata.
These tools connect your Apple Music/iTunes account and match songs to Amazon Music’s catalog.
How these services work: Connect iTunes/Apple Music → select Amazon Music → sync playlists.
Soundiiz – Step-by-step
Step 1: Log in to Soundiiz.com and go to your Home Page.
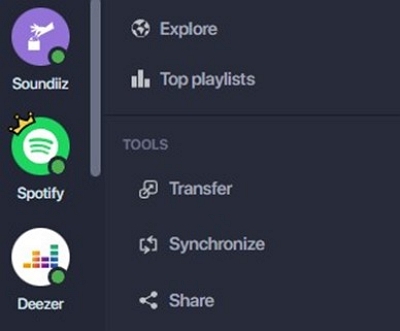
Step 2: On the left sidebar, click Tools → Transfer.
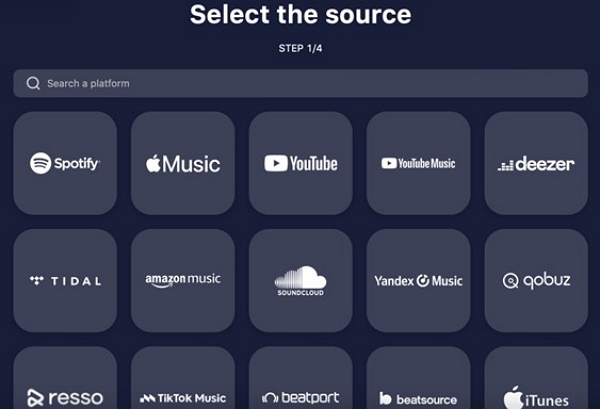
Step 3: Click Select Source and choose Apple Music.
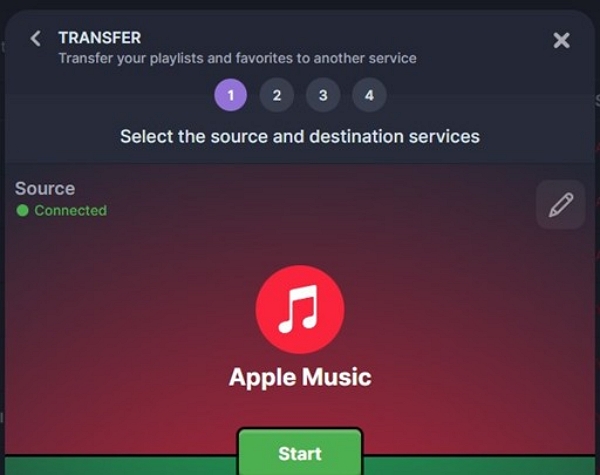
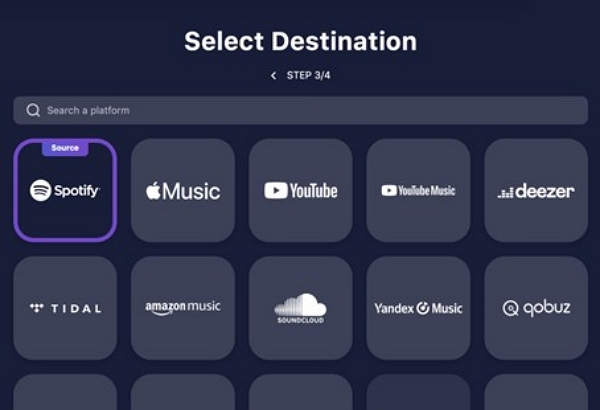
Step 4: Click Select Destination and choose your target service (e.g., Spotify).
Step 5: After both accounts show Connected, click Start.
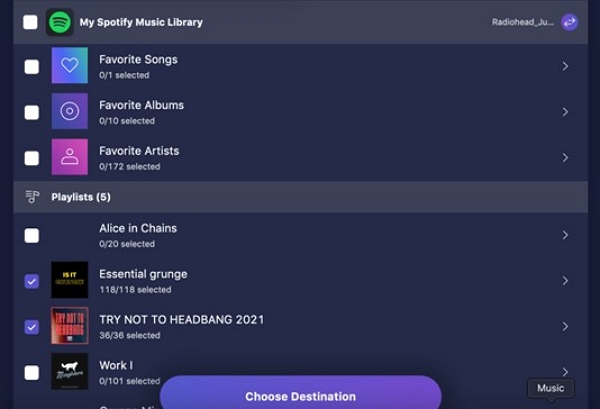
Step 6: Select the playlists, albums, or tracks you want to transfer.
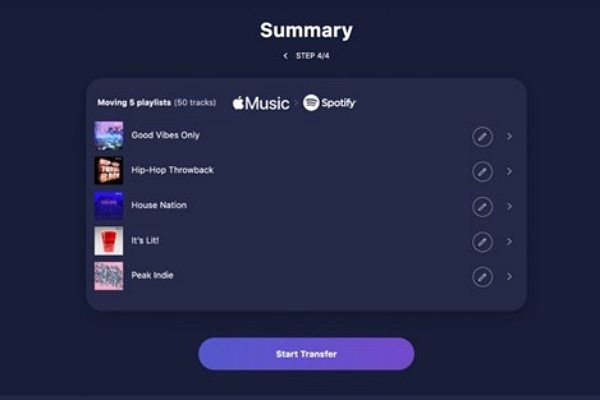
Step 7: Confirm your selection and click Begin the transfer.
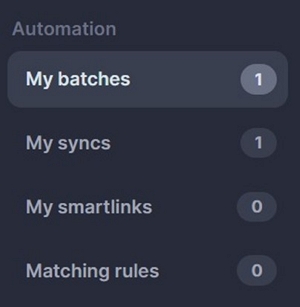
Step 8: Wait for Soundiiz to finish (progress is shown in Automation → My Batches).
That’s it — once the transfer completes, you can open your new streaming service and verify everything has been moved.
TuneMyMusic – Step-by-step
Step 1: Visit TuneMyMusic.com.
Step 2: Choose Apple Music as the source.
Step 3: Log in and select the playlists.
Step 4: Choose Amazon Music as the destination.
Step 5: Start transfer > TuneMyMusic automatically syncs playlists.
Comparison: Soundiiz vs. TuneMyMusic
Pros & Cons of Using Online Transfer Tools
Method 3. Use Desktop Software for Large or Complex Libraries
Desktop software is best for large or complex libraries because it ensures metadata preservation. Online tools fail in this aspect.
Mediaio Audio Converter is a safe and reliable tool for converting iTunes/Apple Music files to MP3s, which can then be uploaded to Amazon Music.
Mediaio is ideal because it allows:
- Bulk file conversion prior to uploading
- Preparing incompatible iTunes formats
- Keeping basic metadata (where supported)
After converting and exporting your files to MP3, AAC, FLAC, or any other Amazon-compatible format, proceed with Step 3 — Upload Music to Amazon Music.
Step 3 already covers all upload options, including:
- Manual drag-and-drop uploads
- Automatic import from a watched folder
- Importing from Windows Media Player or iTunes
To avoid repeating the same instructions, please refer to Step 3 for the full upload process.
Alternatives and Workarounds
Here are some alternatives if direct transfer or online services don’t fulfill your needs.
1.Rebuild playlists manually:
Open Amazon Music – recreate playlists by searching for each song and adding it manually.
Best for – small playlists or rare tracks that don’t match automatically
Pros – full control over playlist order, metadata, and artwork
Cons: time-consuming for large libraries
2. Export iTunes XML and convert
- Export your iTunes/Apple Music playlist as an XML file.
- Use a conversion tool like Soundiiz to map XML data to Amazon Music.
- Import converted playlists into Amazon Music.
Best for – Users who want to preserve playlist order and metadata.
Pros – retains structure and tags, semi-automated
Cons: Artwork and custom tags may not transfer, requiring technical steps.
3. Use cloud storage as a bridge
- Upload your local music files to a cloud service.
- Download them onto the device running Amazon Music.
- Import files into Amazon Music via local folder scanning.
Best for – large libraries stored across multiple devices
Pros – centralized storage, easy access across platforms
Cons – still requires manual import, playlists may need rebuilding
FAQs
No, Amazon Music does not read iTunes XML files directly. Use third-party tools like Soundiiz to convert the XML file into a format that Amazon Music recognizes. Alternatively, you can manually rebuild playlists using the exported XML as a reference.
No. Once transferred, Amazon Music playlists are static copies. Changes made to iTunes will not automatically update in Amazon Music. To keep them aligned, you’ll need to re-run the transfer process or manually edit playlists in Amazon Music.
Amazon discontinued its cloud upload feature several years ago, so you can’t upload MP3s to Amazon’s servers. However, the desktop app still allows you to import local MP3s for playback on the same device. These files remain local-only and won’t sync across devices.
Generally, yes. Core metadata usually survives conversion, but custom tags and artwork may be lost or mismatched. The best practice is to embed artwork and clean up metadata before conversion to maximize accuracy.
Conclusion
If you ask, Can you directly convert iTunes playlists to Amazon Music, the answer is no. You must manually upload/export, use online playlist-transfer tools, and desktop software to transfer iTunes/Apple Music playlists to Amazon Music. Using tools like Mediaio helps convert iTunes playlists into MP3 files that can be easily uploaded to Amazon Music. If you want to transfer large playlists, use Mediaio.