A Spotify account is not just an email ID and password. It stores years of saved songs and carefully built playlists. So when you need to change accounts, like moving from a student email to a professional one or for any other reason, the fear of losing that music can hold you back. After all, Spotify does not make it clear how to bring your library with you.
Don’t worry. This article shows how to transfer Spotify playlists to another Spotify account, so your playlists can move with your new account easily. Some methods move everything in one go. Others give you granular control. And there are multiple methods (free and paid) in this guide, so you can pick the one that works best for you.
Transfer Spotify Playlist to Another Spotify Account Using Inbuilt Feature
Spotify does not have a true “move everything to a new account” button, a one-shot transfer that shifts ownership, followers, and your full library. What does work are the simple workarounds people keep using (and that show up again and again in Spotify Community + Reddit threads): you make the playlist shareable first, then you save/follow it from the new account.
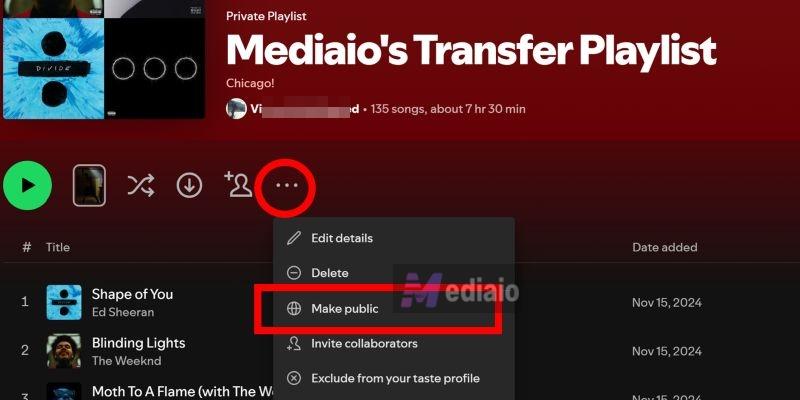
Prep: Make a Private Playlist Public
Step 1. Open the playlist in your old account.
Step 2. Click the three dots (near the playlist title).
Step 3. Choose Make public.
Way 1. Via Old Account Profile
Available: Desktop app/web player/mobile app
Best for: You want to transfer all playlists in your Spotify library which includes a small set of playlists (roughly 5–30).
If your old Spotify account was created recently or you usually stick to just one or two playlists, your old library won’t have many playlists. At that time, this ways is useful. You keep the old account as it is — you’re simply adding those playlists into the new account’s library.
Steps to Follow
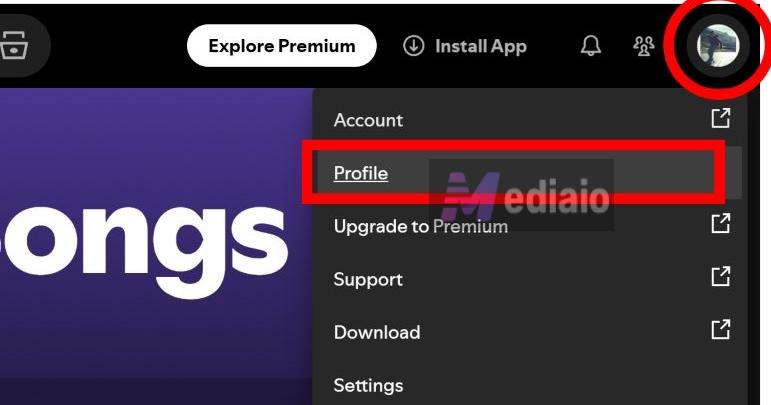
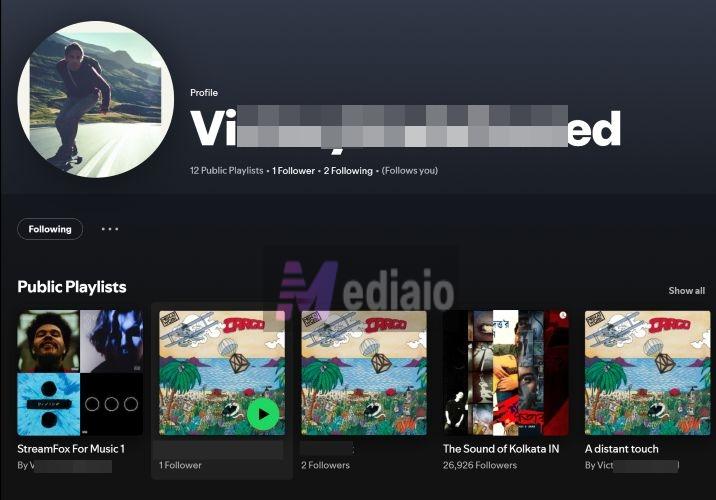
Step 1. Log in to your old Spotify account and go to your Profile.
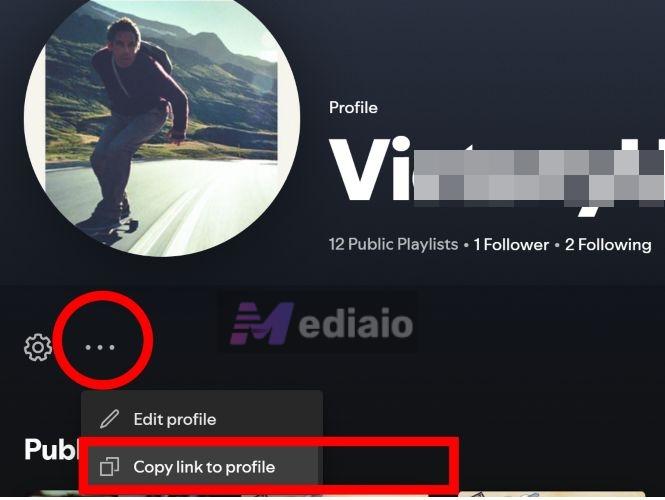
Step 2. Click the three dots (...) below the details on the profile page. Then, select Copy link to profile.
Step 3. Now log in to your new Spotify account on another device.
Step 4. Paste that profile link into the Search bar and hit Enter.

Step 5. You’ll land on your old profile inside your new account, and you’ll see all the public playlists.
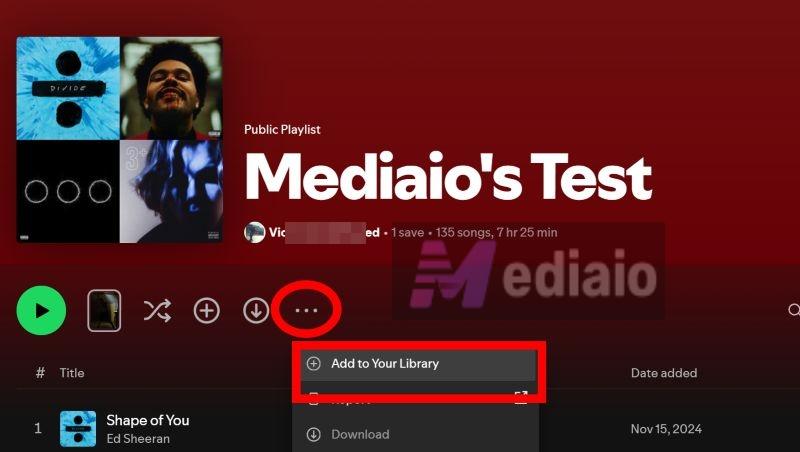
Step 6. Open the playlist you want to move. Click Add to Your Library. That’s the “save” action. Repeat for each playlist.
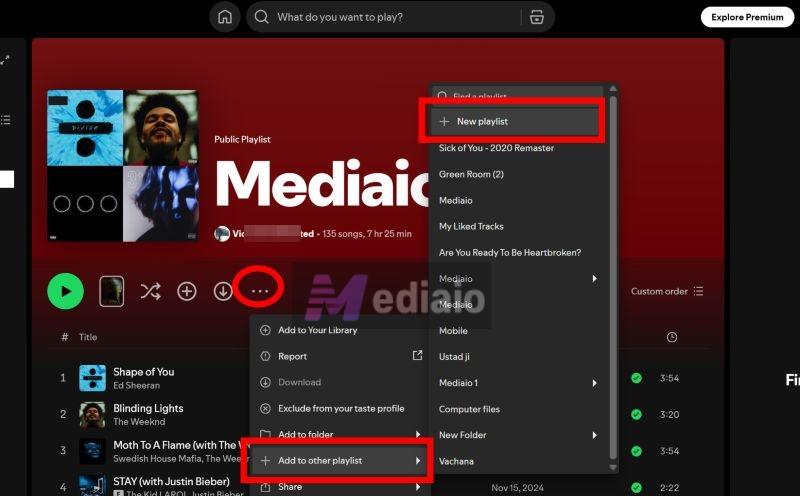
You can save the added playlists to a new playlist too.
If you want to migrate your Spotify Liked Songs playlist:
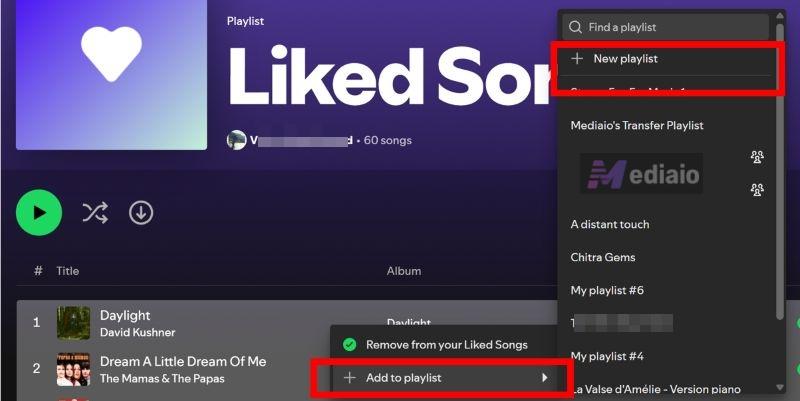
Liked Songs isn’t a normal “public playlist”. So first turn it into a playlist.
Step 1. Open Liked Songs on Spotify desktop.
Step 2. Select all tracks with Ctrl + A/Cmd + A or select a range.
Step 3. Choose Add to playlist button and select New playlist. Finally, make the playlist public.
Way 2. Through Playlist Link
Available: Desktop app/web player/mobile app
Best for: Selectively moving 1–20 playlists or a few specific ones without touching your full profile.
This method is simpler than using the full profile. Instead of exposing everything, you can transfer playlist by playlist. And it’s ideal when you only want certain playlists from your old account.
Steps to Follow
Step 1. Access your old account. Go directly to the playlist you want to move.
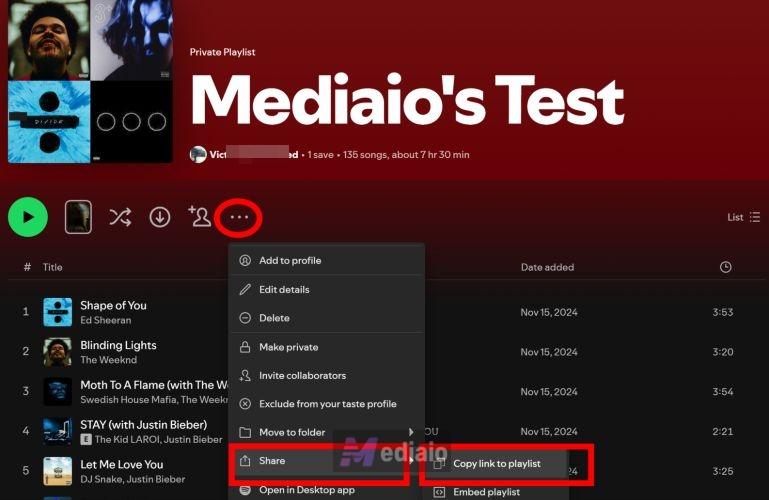
Step 2. Copy the playlist link.
- Open the options menu below the playlist title.
- Choose Share > Copy link to playlist.
Step 3. On another device, log in to your new Spotify account.
Step 4. Open the playlist using the link.
- Paste the copied Spotify link into the search bar.
- Press Enter.
Step 5. Save the playlist by clicking Add to Your Library.
Way 3. Use Local Files Feature
Available: Spotify apps or web player.
Best for: Your Spotify playlists are small and few in number. At the same time, you want them to appear as a single merged playlist in the new account.
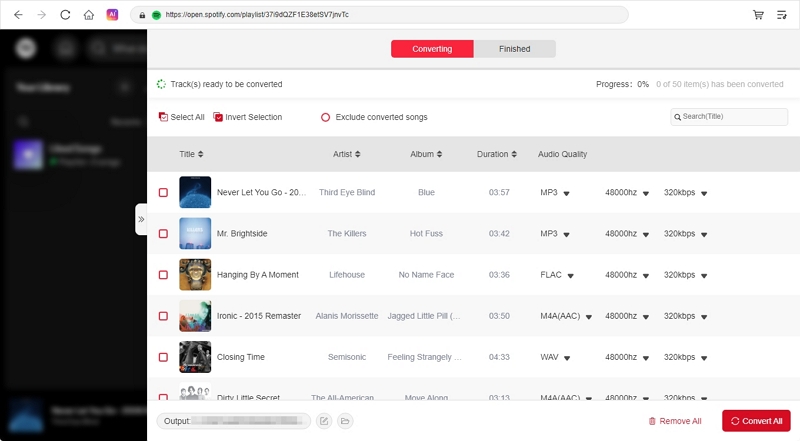
To use Spotify’s Local Files feature, first save the playlists from your old account, then upload the local audio files to your new Spotify library. To perform the export, Mediaio Audio Converter is a useful tool that saves Spotify audio content in Spotify-compatible formats such as MP3. The local files maintain high quality, both in audio and metadata. In addition to transferring music between platforms, you can also move music from your computer to your iPhone, USB drive, or MP3 player.
Steps to Follow
Step 1: Export your Spotify playlists with Mediaio.
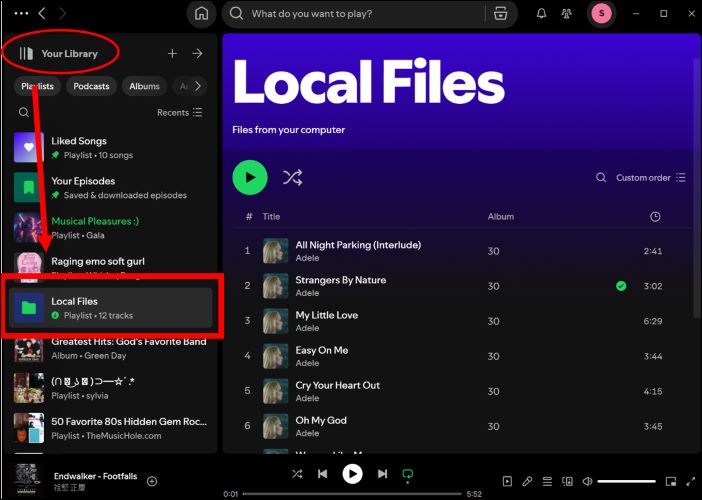
Step 2: Login Spotify desktop with your new account and then follow this post to add the local files to your Spotify library.
Way 4. Via Playlist Shortcut
Available: Spotify app or browser on Windows and macOS
Best for: Keep playlist links as backups (5–30 playlists) and decide later which ones to add to your new account.
This method doesn’t really transfer anything by itself. What it does is let you park playlist links on your desktop or anywhere like a .txt file. So you can open them later while logged into your new account. It’s really useful if you don’t want to move everything immediately. Of course, this also works only for public playlists.
Steps to Follow
Option 1: Drag and Drop Playlists Directly
Step 1. Launch Spotify on your computer and log in to your old account.
Step 2. Navigate the playlist you want to keep.
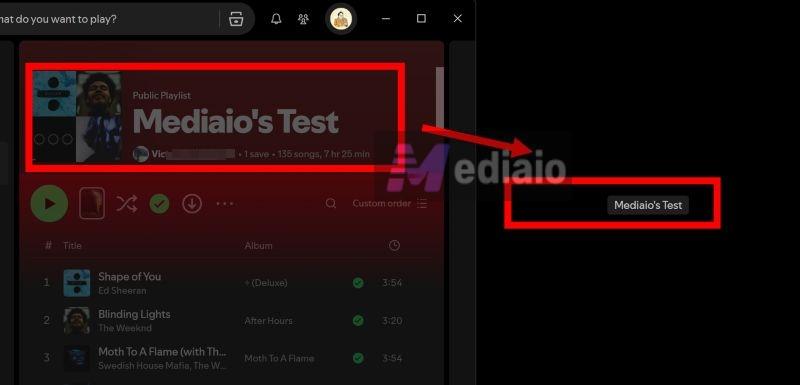
Step 3. Drag the playlist banner/title straight onto your desktop.
Step 4. A clickable shortcut appears. Rename it if you want.
Step 5. Later, when you’re logged in to your new account. Double-click that shortcut.

The playlist opens in your browser. Use Add to Your Library or Add to other playlist > New playlist to save it.
Option 2: Create a Playlist Shortcut Manually
Step 1. Open the playlist in your old account and click the 3-dot under the banner.
Step 2. Choose Share > Copy link to playlist.
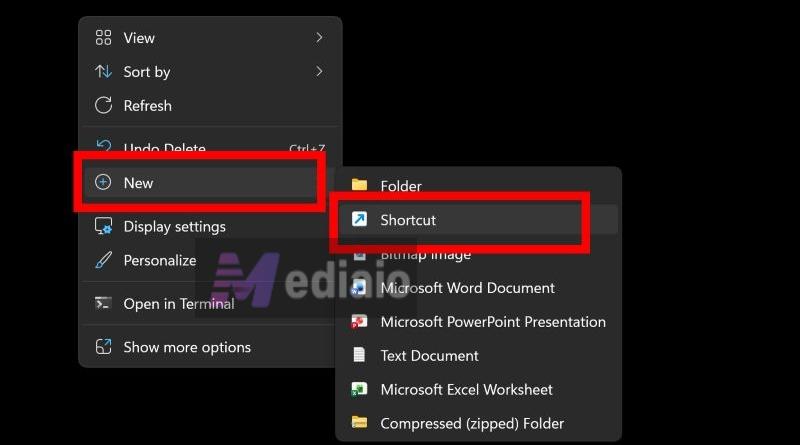
Step 3. On your desktop, right-click an empty area. Choose New and select Shortcut from the menu options.
Step 4. Paste the playlist link.
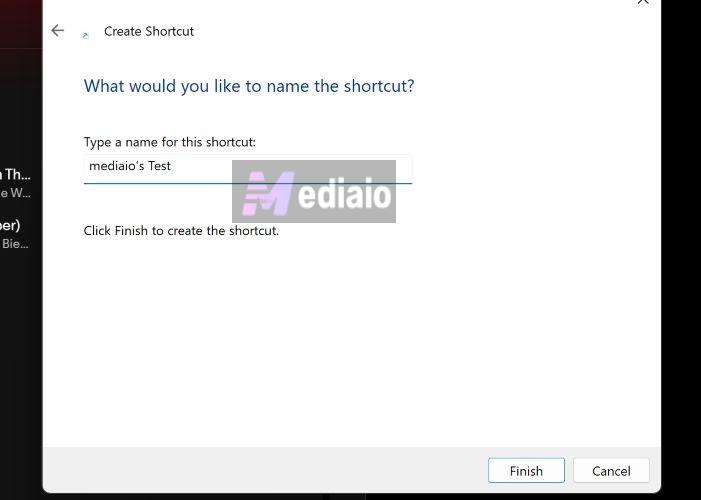
Step 5. Click Next, name the shortcut and then Finish.
This creates a desktop link that is always ready to be open in your browser.
Way 5. Via Collaborative Playlist
Available: Spotify apps or web player
Best for: Ongoing shared playlists when you want to use both accounts in parallel for a while.
This method is different from the earlier ones. You’re not “copying and leaving” a playlist. Instead, you’re sharing control.
A collaborative playlist lets both accounts:
- see the same playlist
- add or remove songs
- keep using their own listening habits and recommendations separately
This is useful when:
- you don’t want to delete the old account yet
- you actively use both accounts
- the playlist is something you want to maintain together over time
Steps to Follow
Step 1. Sign into your old account on the Spotify desktop app.
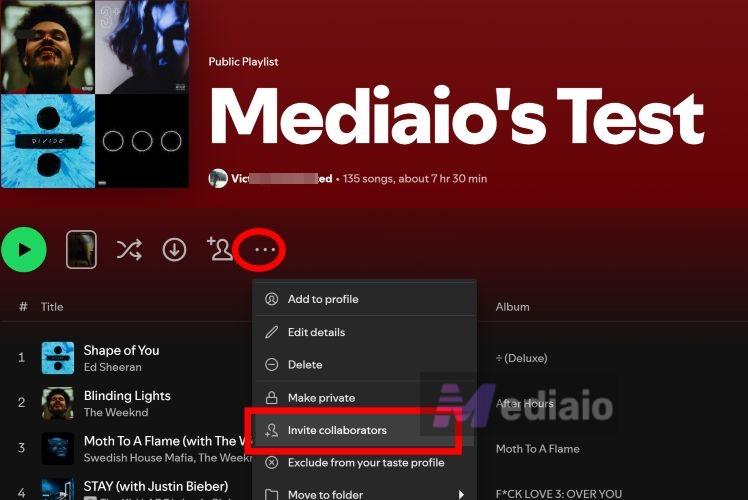
Step 2. Access the playlist from Your Library. Just under the playlist title, hit the three-dot menu.
Step 3. Choose Invite collaborators—Spotify copies the link instantly.
Step 4. Log into your new Spotify account.
Step 5. Drop the link into your Spotify’s address bar. Press Enter.
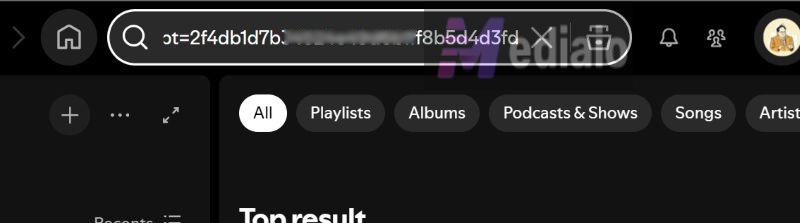
That’s it. Your new account is now added as a collaborator on the playlist.

Transfer Spotify Playlist to Another Spotify Account with Third-Party Software
Spotify’s inbuilt methods work, but they’re manual by nature. If you have many playlists, lots of followed content, or simply don’t want to copy links one by one, third-party migration tools are the practical option. They’re designed to connect two Spotify accounts at once for moving playlists in bulk or selectively. Below is the most commonly recommended free option.
Way 1. Use Reddit-Popular Tool – Trikatuka
Available: Web app (works in modern browsers on desktop and mobile).
Price: Free (no paid tier; optional donation).
Website: https://trikatuka.aknakn.eu/#/
At first glance, the trikatuka.aknakn.eu URL looks random and normally that’s a red flag on the internet. However, Trikatuka is a trusted Spotify-only migration tool that’s been circulating for years in Spotify Community threads and Reddit discussions. It’s built specifically to:
- move playlists between two Spotify accounts
- transfer saved tracks, albums, and artists
- avoid CSV exports or manual rebuilding
Everything happens through Spotify’s official login permissions.
Steps to Follow
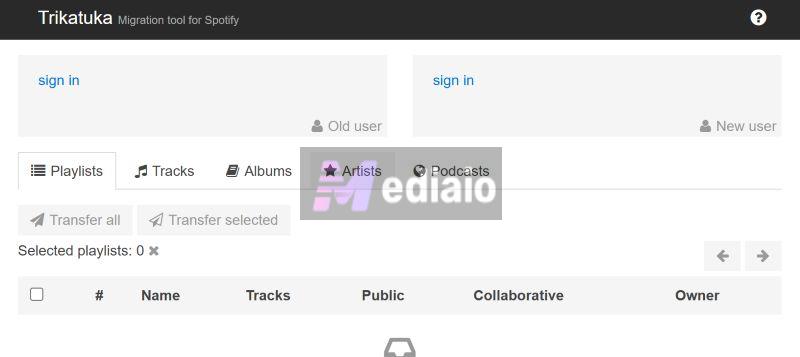
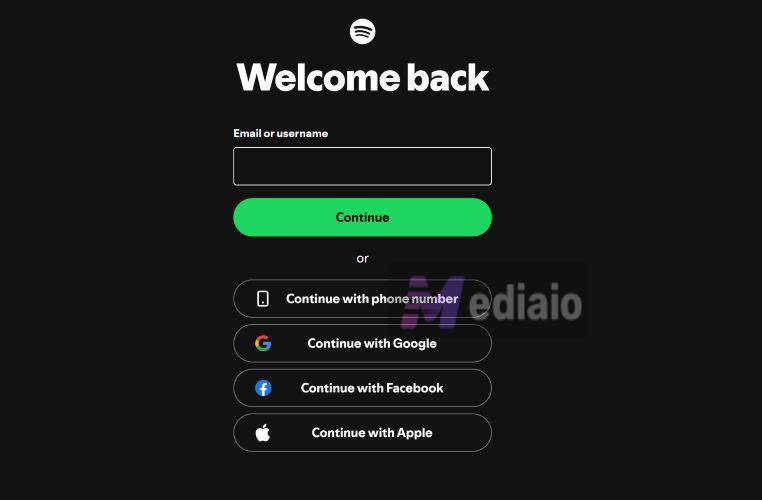
Step 1. Open Trikatuka in your browser. You’ll see two sign-in panels: one for the Old user and the other for the New user.
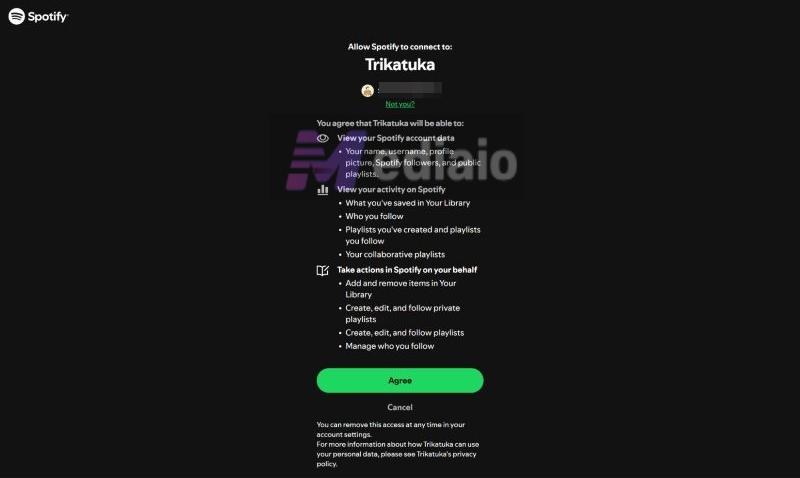
Step 2. Sign in with your old Spotify account:
- Click sign in under Old user.
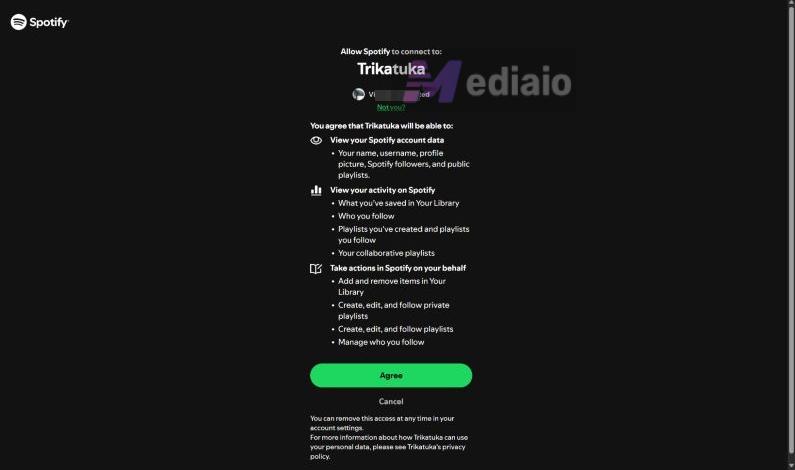
- When a Spotify permission screen opens, confirm and continue.
This allows Trikatuka to read what exists in your old account.
Step 3. Sign in with your new Spotify account.
- Click sign in under New user.
- When Spotify shows your already logged-in profile, do not continue. Simply click Not you? instead. This sends you back to the Spotify login page.
- Log in using your new account credentials.
- Approve access.
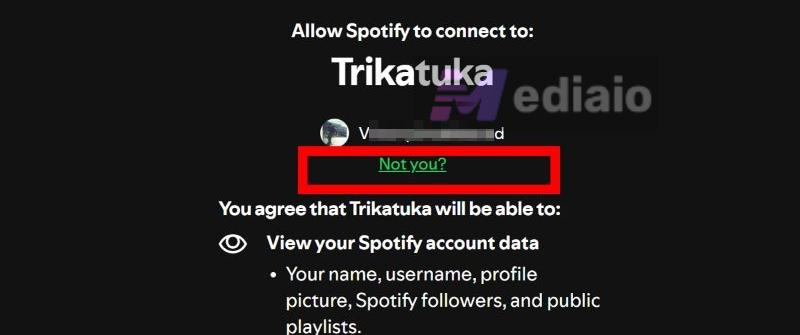
This step is critical. It’s what separates the two accounts correctly.
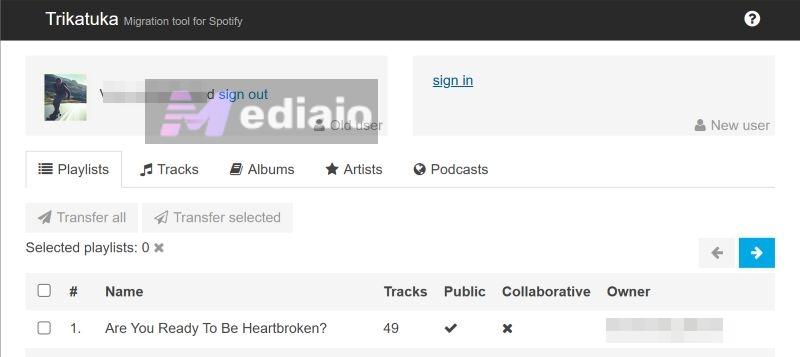
Step 4. Review playlists from the old account once both accounts are connected:
- Your old account’s playlists appear in a list
- You’ll see details like:
- track count
- public/private status
- collaborative status
- playlist owner
Use the arrows to move through pages, as it shows a limited number per page.
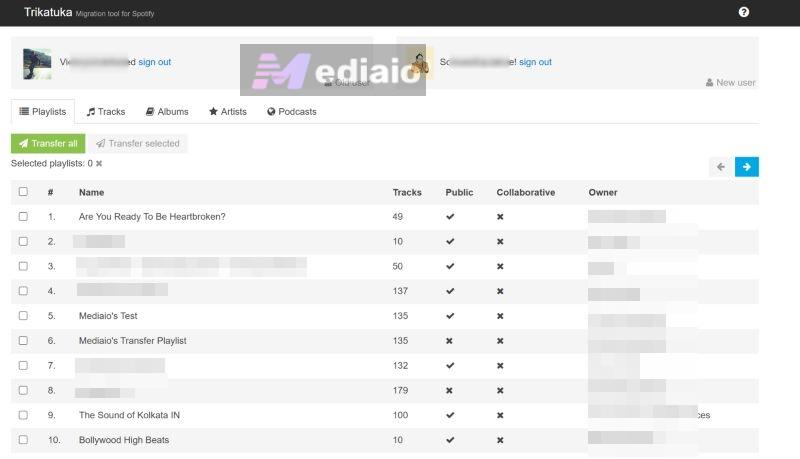
Step 5. Choose what to move:
- Transfer all – moves everything.
- Transfer selected – tick only the playlists you want.
This is where Trikatuka saves time, compared to manual methods.
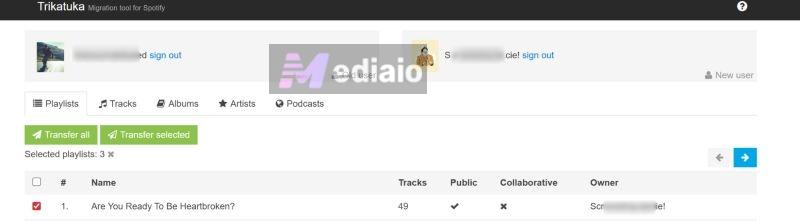
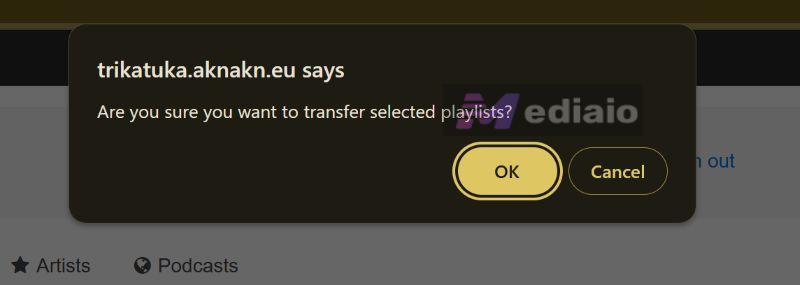
Step 6. Confirm the transfer.
- Click Transfer selected or Transfer all and a browser confirmation dialog appears.
- Confirm to proceed.
Trikatuka starts copying/following content in the background.
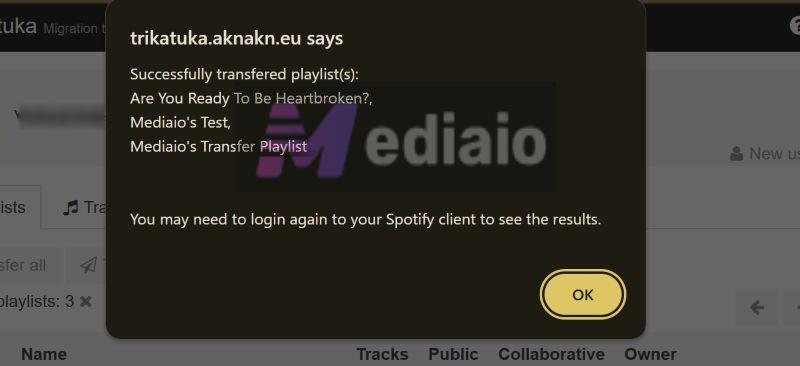
Step 7. After a moment, you’ll see a success message listing:
- playlists that were transferred.
- playlists that were followed.
You may need to log out and back into Spotify to see the changes instantly.
How Trikatuka Handles Different Playlist Types
- Your own playlists (public or private) are copied into the new account.
- Collaborative playlists aren’t transferred. Your new account simply follows them.
- Playlists you follow, including those made by Spotify or other users, are followed again in the new account.
This mirrors Spotify’s own behavior instead of forcing ownership changes.

Way 2. Use Playlist Transfer Tool - Free Your Music
Available: Mobile app and desktop client (Windows, macOS, Linux)
Price:
Free transfer, up to 300–600 songs
Paid plans for unlimited transfers:
- Quarterly: $6.66
- Yearly: $4.17/month (billed annually)
- Lifetime: $249.99
FreeYourMusic is a full-fledged playlist migration app, similar in category to other commercial transfer tools, but with one major advantage: a generous free limit that’s often enough for small or medium libraries.
It works across platforms and also supports cross-service transfers (Spotify to Spotify, Spotify to Apple Music, etc.).
What FreeYourMusic Does Well:
- Transfer playlists with order preserved
- Keep original playlist names
- Avoid duplicates
- Handle multiple playlists in one run
- Unlimited transfers once you’re on a paid plan
- Work equally well on desktop and mobile
Steps to Follow
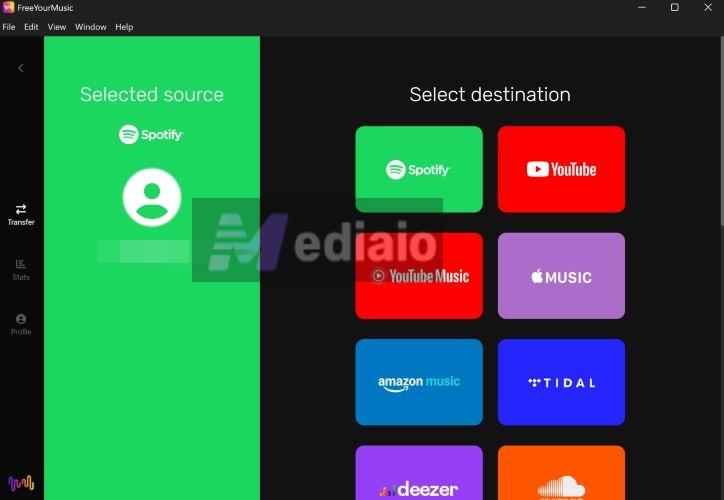
Step 1. Download the FreeYourMusic app on your device and launch it.
Step 2. Select Spotify as the source.
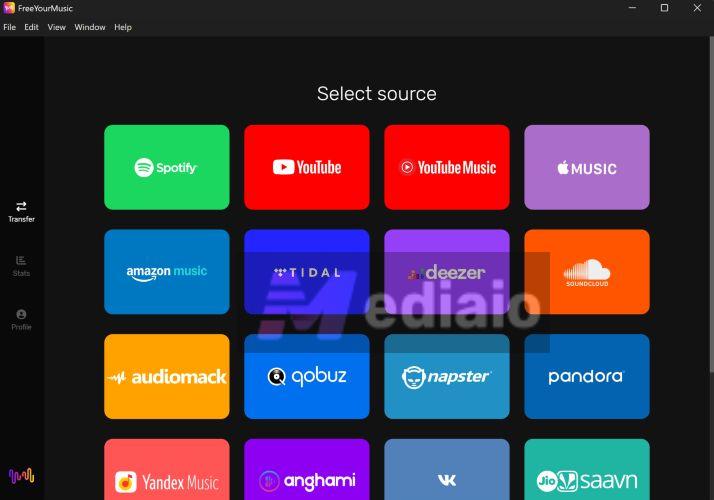
You’ll be redirected to a Spotify login page. Approve access to continue. This connects your old Spotify account.
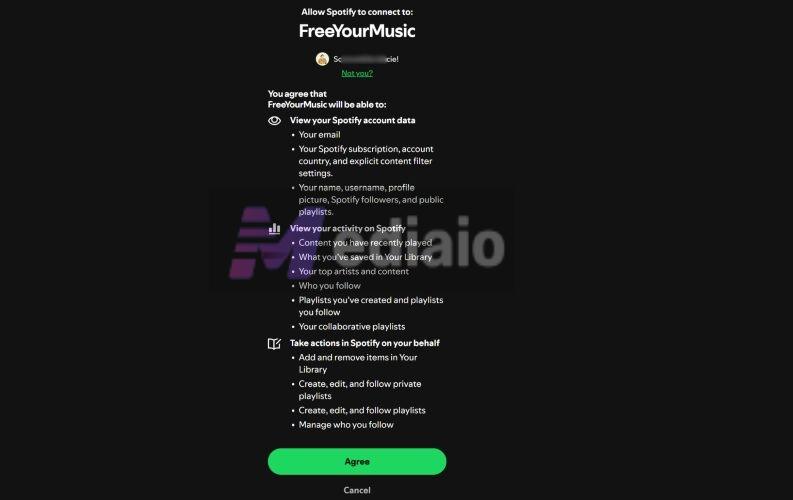
Step 3. Select Spotify again as the destination.
- Back in the app, choose Spotify under Select destination.
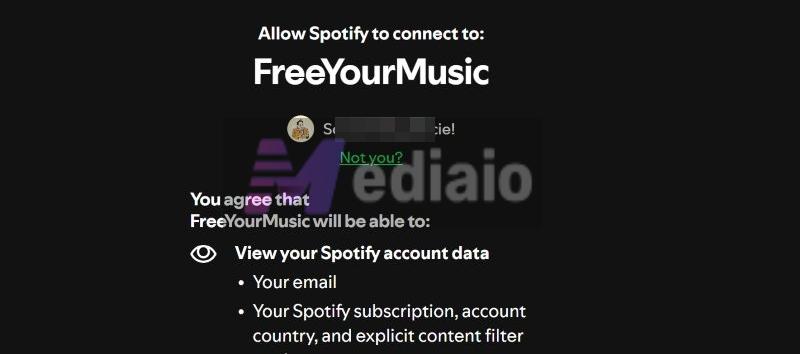
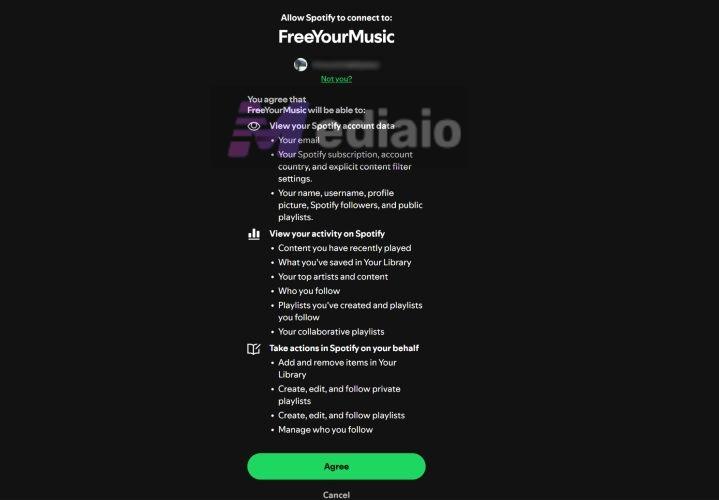
- Spotify opens again in your browser. If it shows the old account, click Not you.
- Login using your new Spotify account.
- You’ll then be redirected back to the FreeYourMusic app.
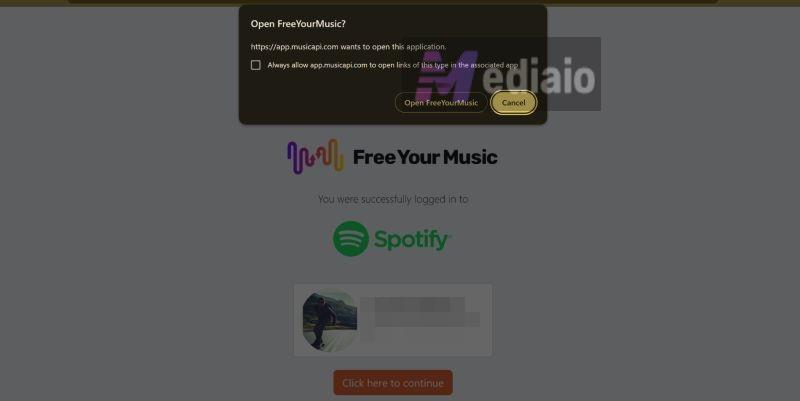
Step 4. You’ll see a message confirming that Spotify > Spotify is ready. Click Continue to proceed.

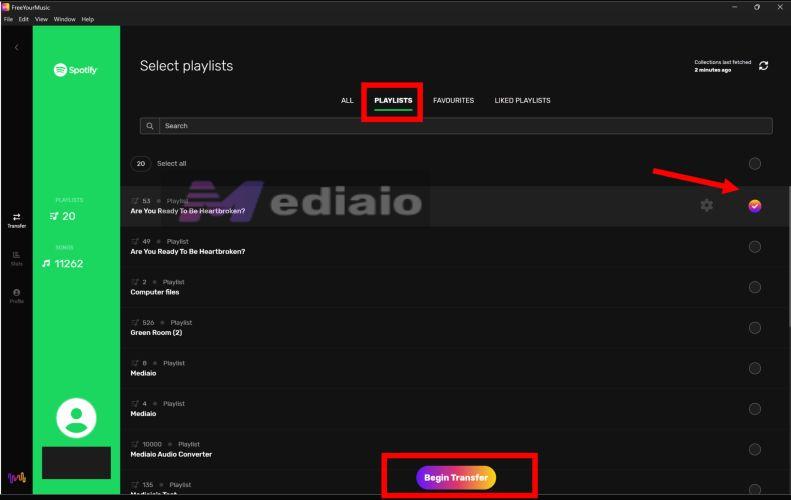
Step 5. Inside the app, you can switch between Playlists, Favourites and Liked playlists. Select the playlists you want and then click Begin transfer.
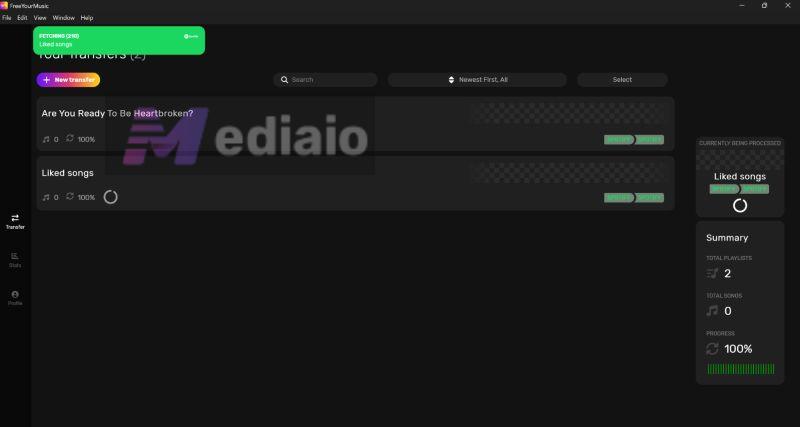
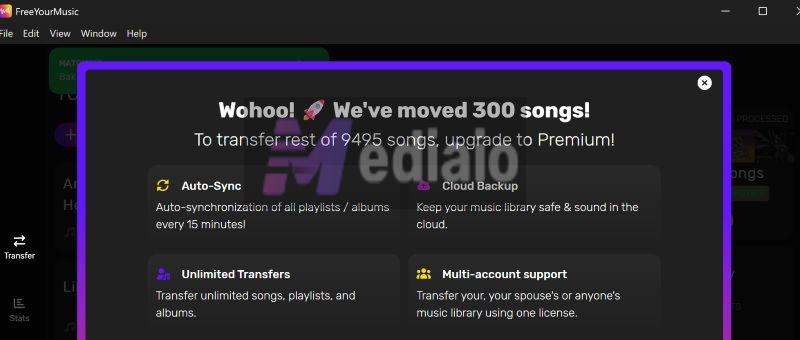
Step 6. Progress is shown in real time. Once it hits 100%, the playlists appear in your new account. If you’re on the free version, the transfer will stop after roughly 300–600 songs and prompt you to upgrade.
Notes on the Free Limit
- The exact free cap varies slightly by platform and version.
- For small playlists or selective transfers, the free tier is usually enough.
- Larger libraries will require a subscription.
Conclusion
There is no “best” Spotify playlist transfer method. There is only one that fits your library size and patience. For a handful of playlists, Spotify’s own links and profile tools are enough. For a large collection, Trikatuka or FreeYourMusic will save hours of clicking. Once the transfer finishes, your new account will behave exactly like the old one—same playlists, same order, same listening flow.